
Automated Scheduling Reminders
Automated Scheduling Reminders help you transform completed jobs into a steady stream of repeat business. This tool saves you hours of manual follow-up time and increases your revenue by automatically reaching out to customers when it's time for their next service. It's easy to get started!
Note: Automated Scheduling Reminders are available for Run (formerly Standard), Scale (formerly Business), and Premium plan users. Flex and Start (formerly Lite) plan users can upgrade to access this tool.
In this article, we will cover:
- How to Set Up Automated Scheduling Reminders
- Disabling Automated Scheduling Reminders
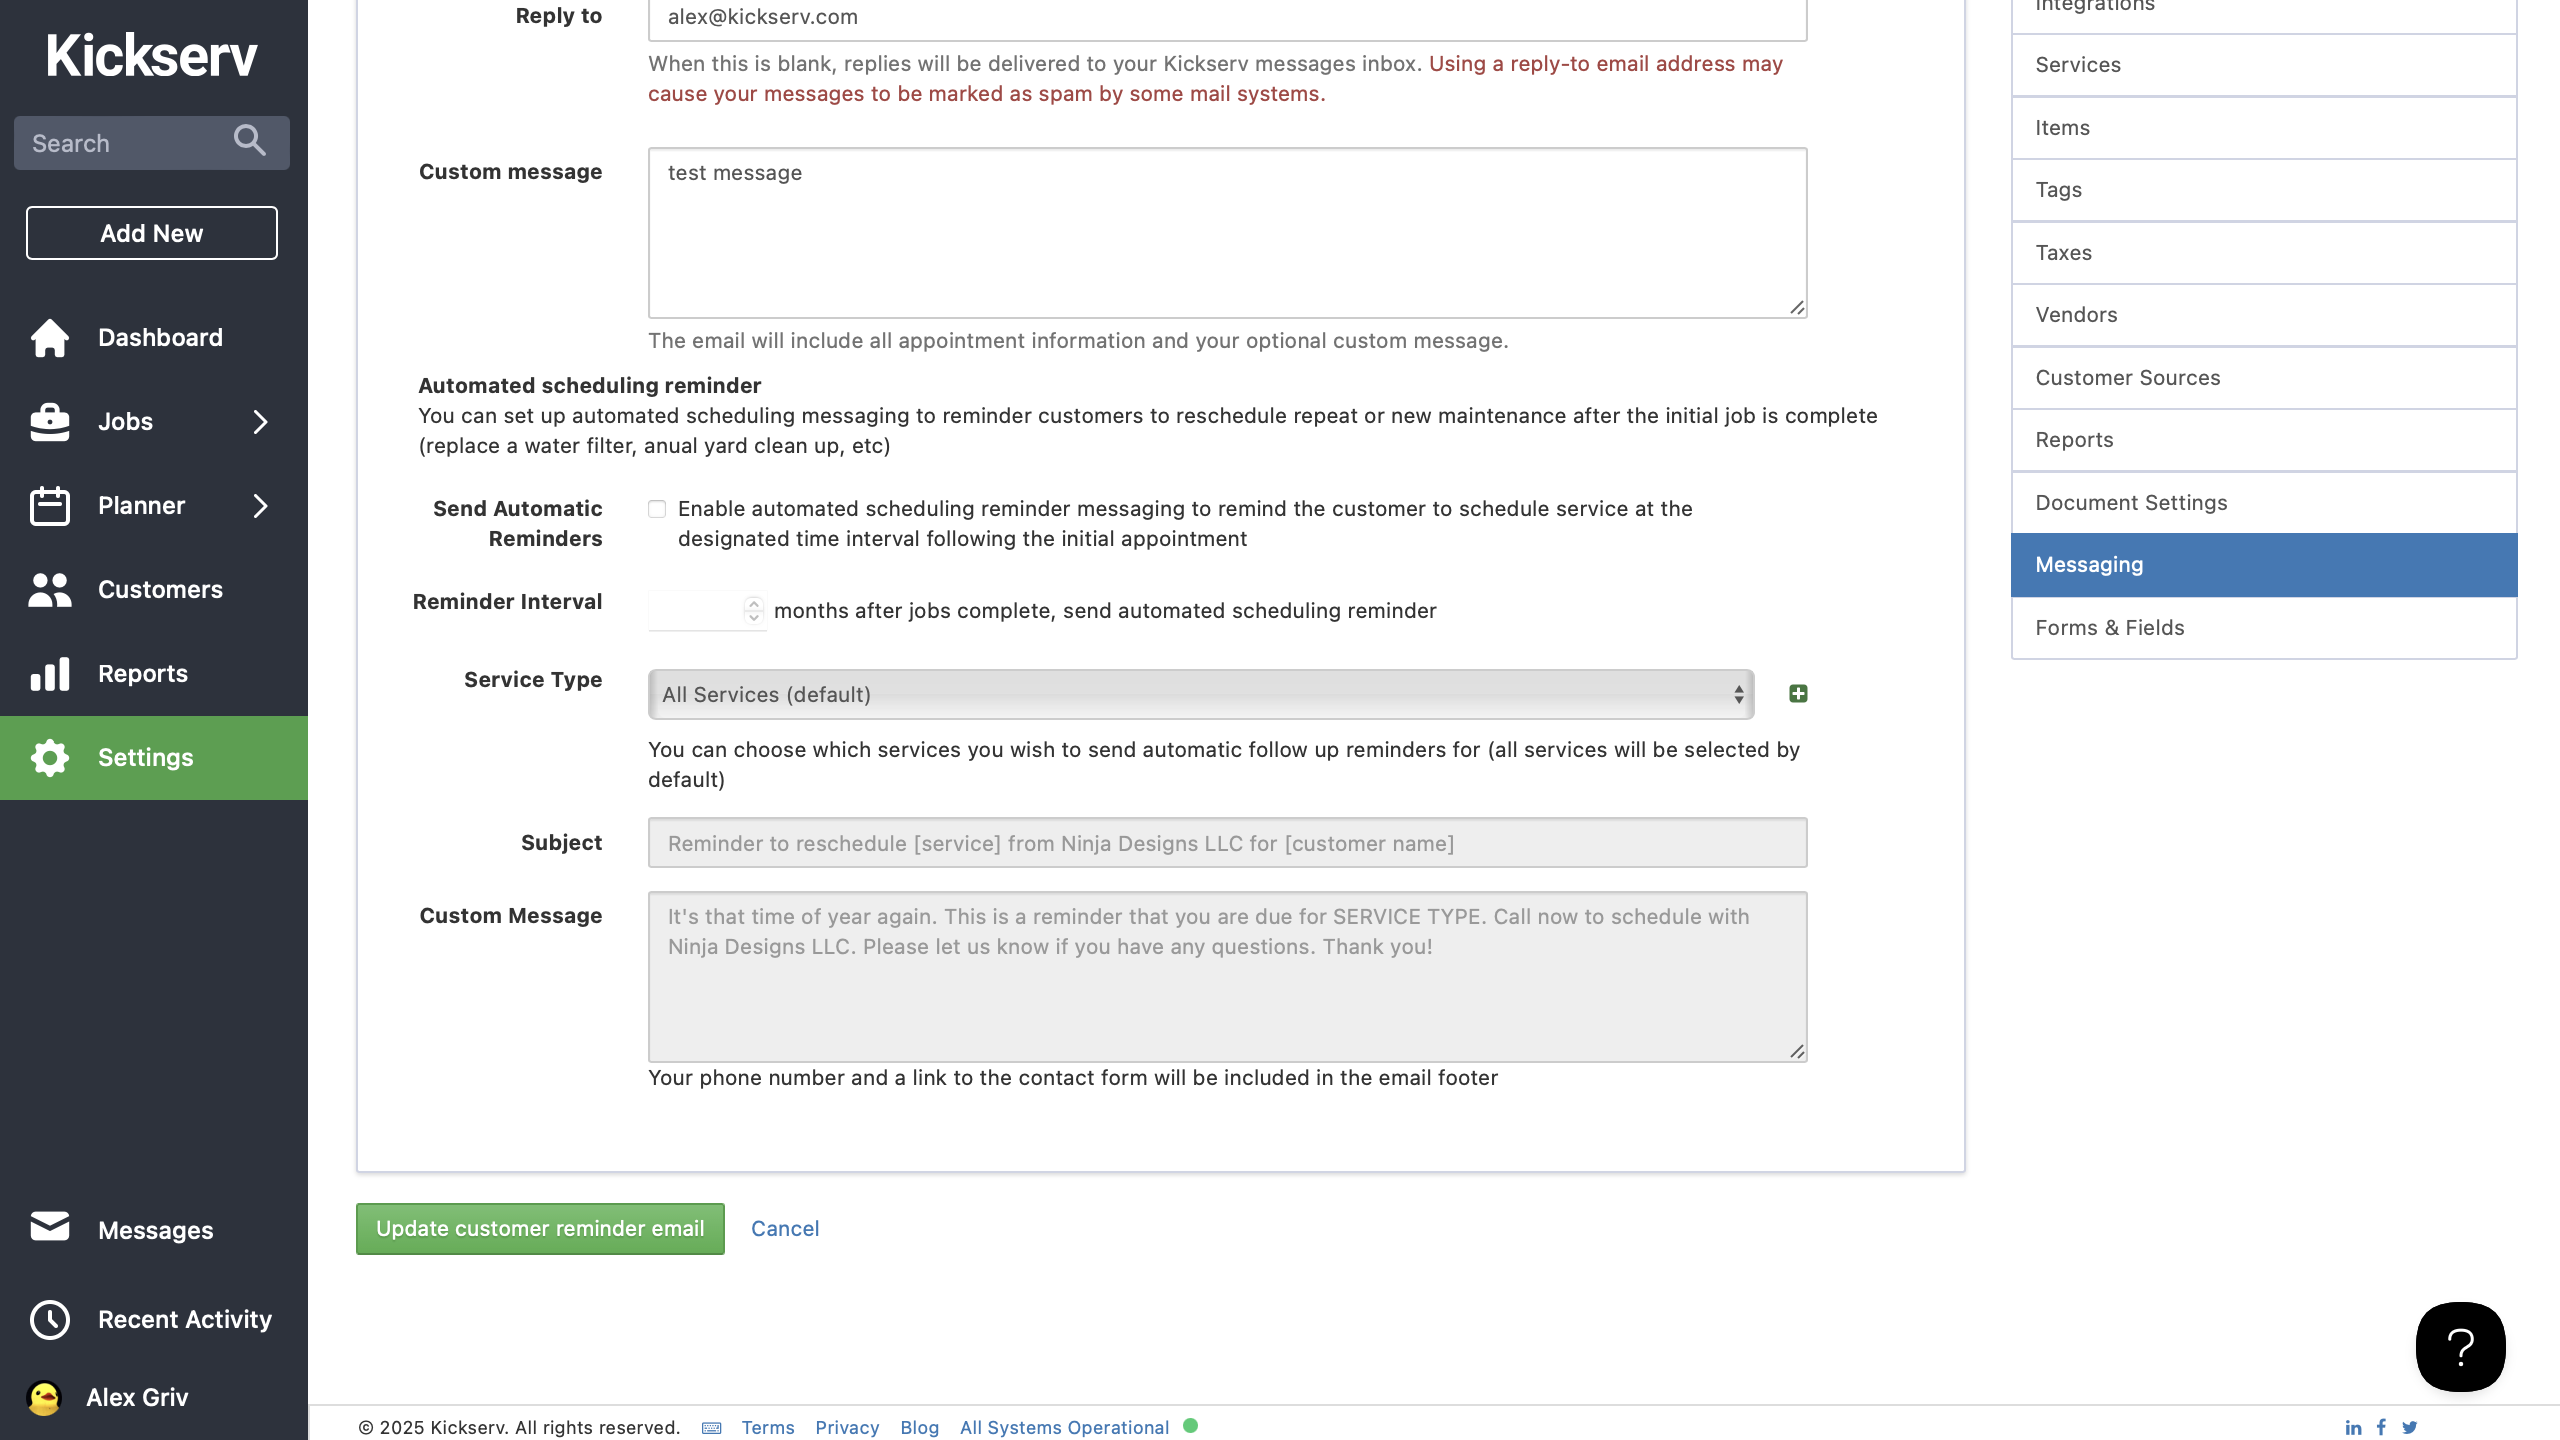
How to set up Automated Scheduling Reminders
-
Navigate to the "Settings" menu from your Kickserv dashboard
-
Select " Messaging"
-
Enable the "Send Automatic Reminders" checkbox
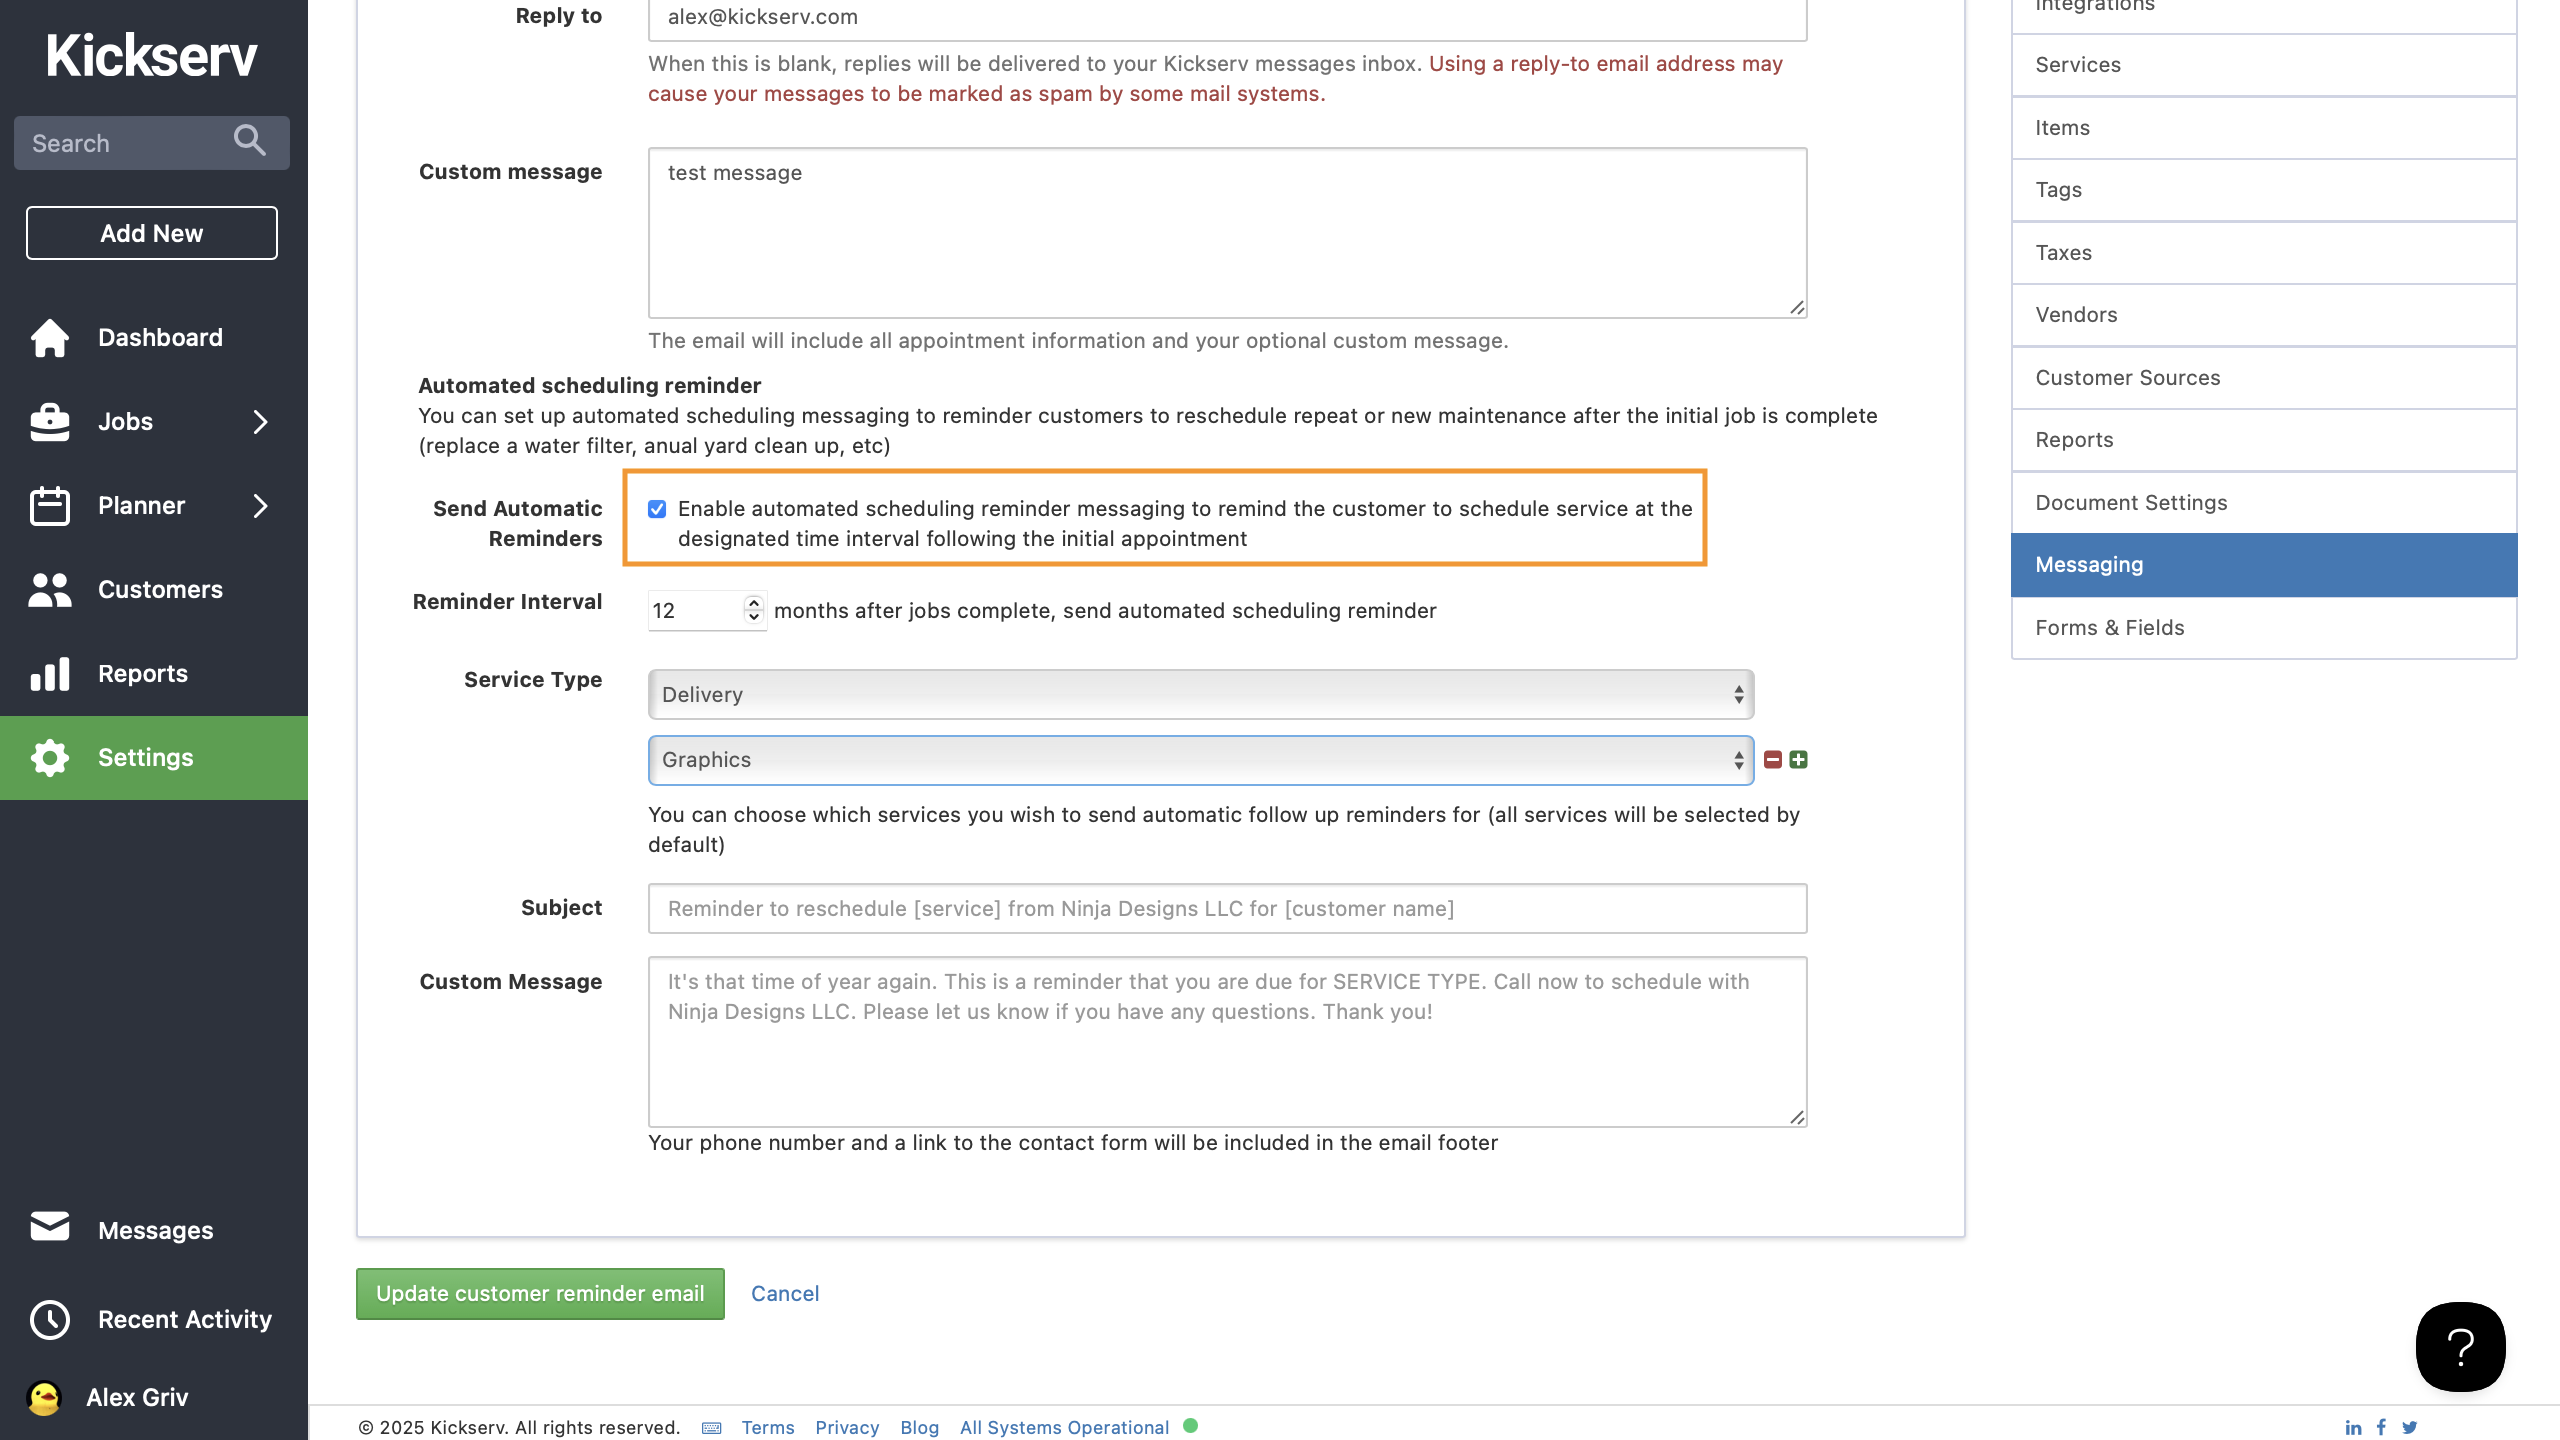
- Choose “Reminder Interval” and set reminders in monthly intervals


-
Choose the Service Type for the reminder from the dropdown menu (e.g., filter replacement, annual cleanup). You can add as many service types as you wish.
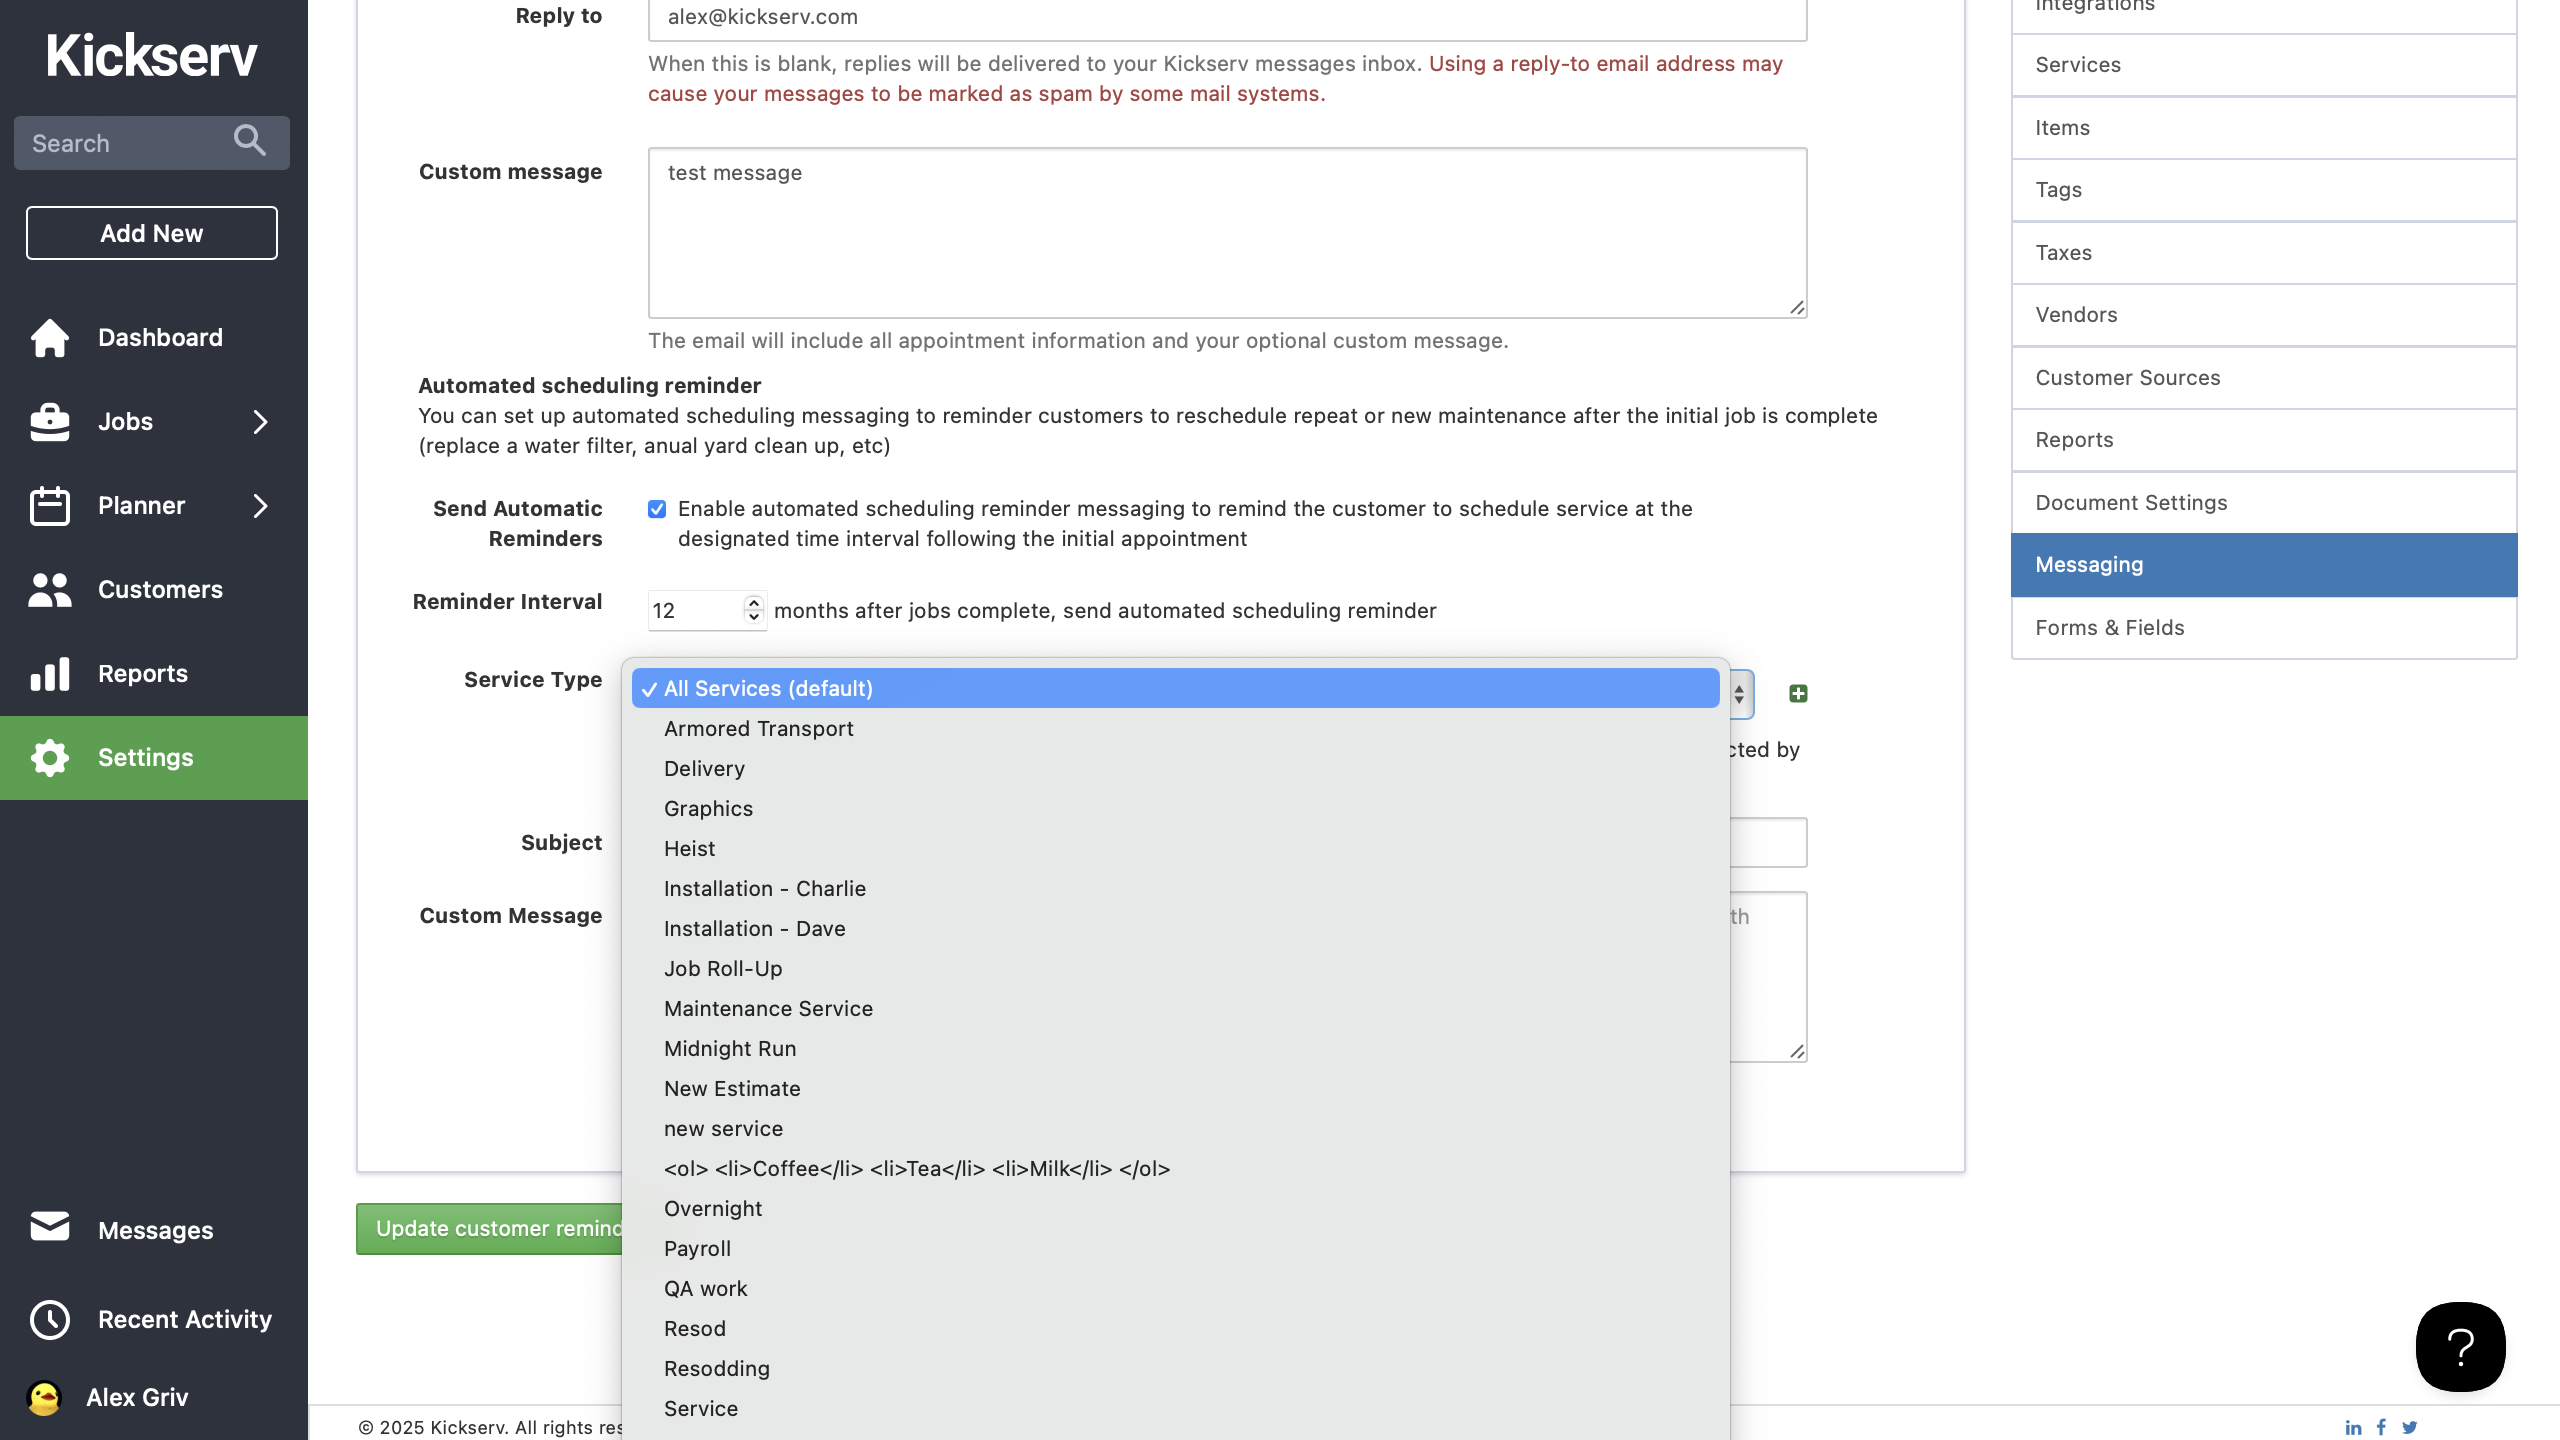
-
Customize the "Subject" line and "Message"
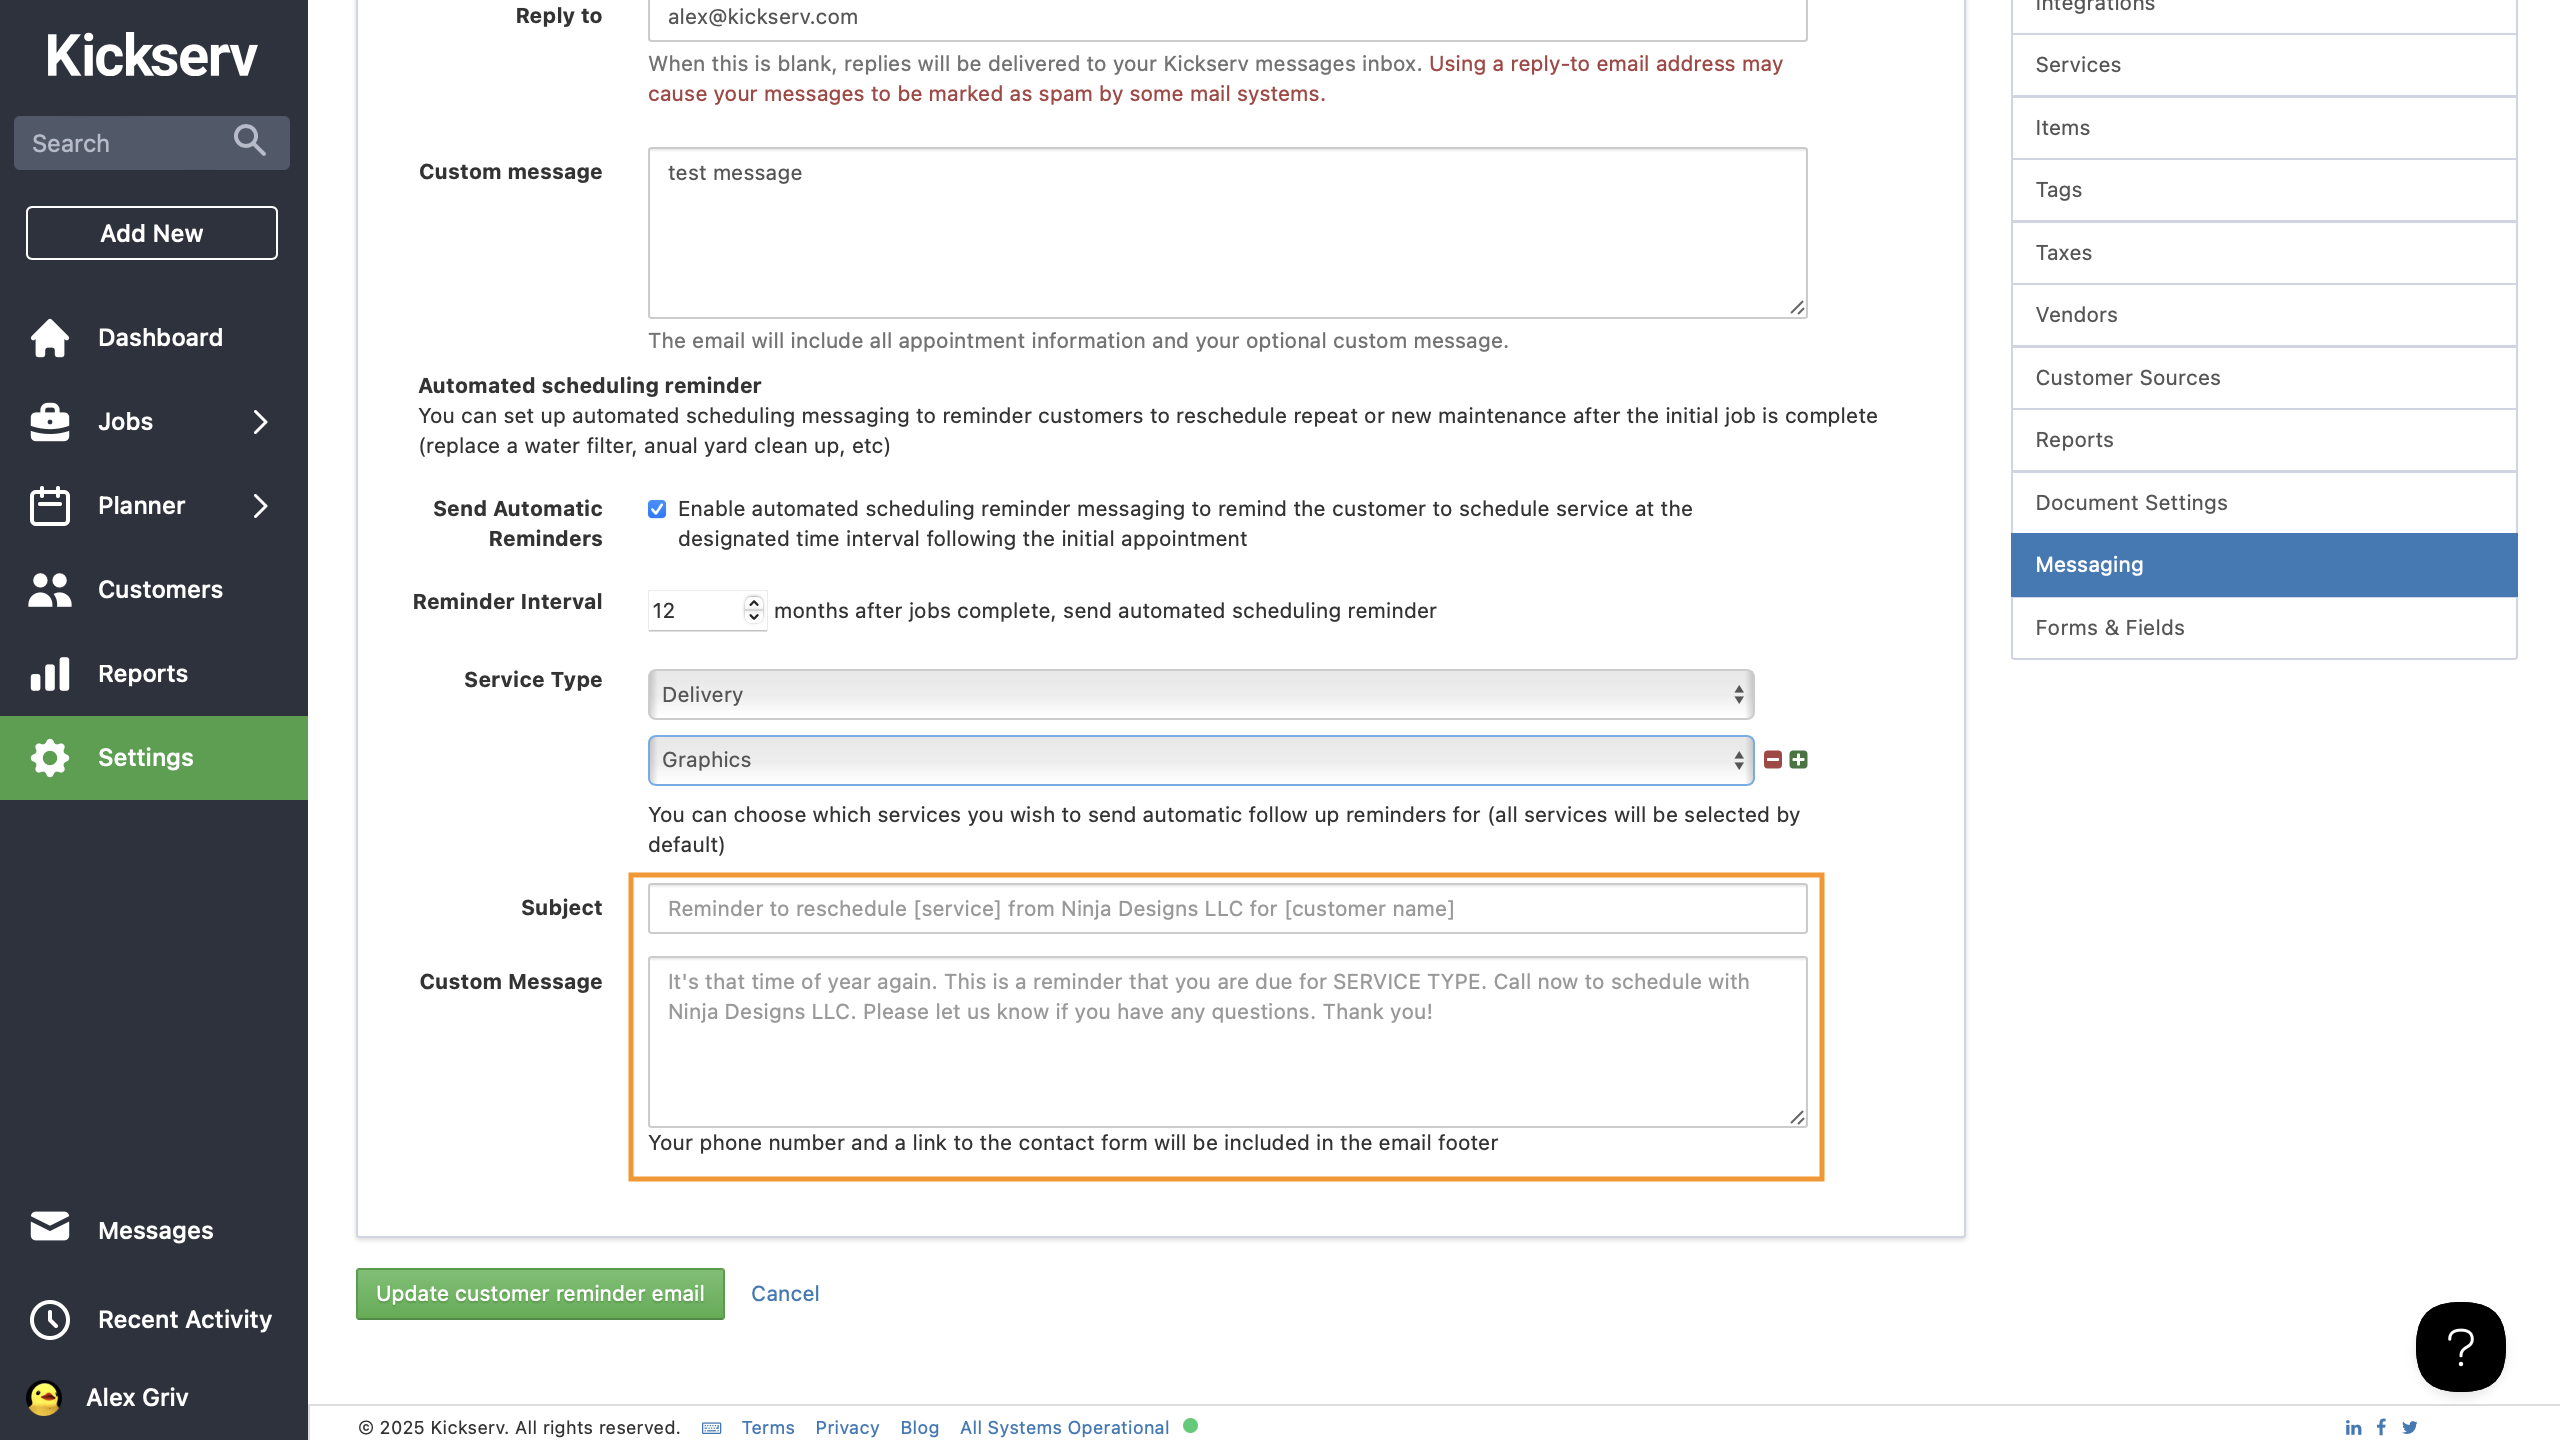
- Save your new reminder, and you’re done!


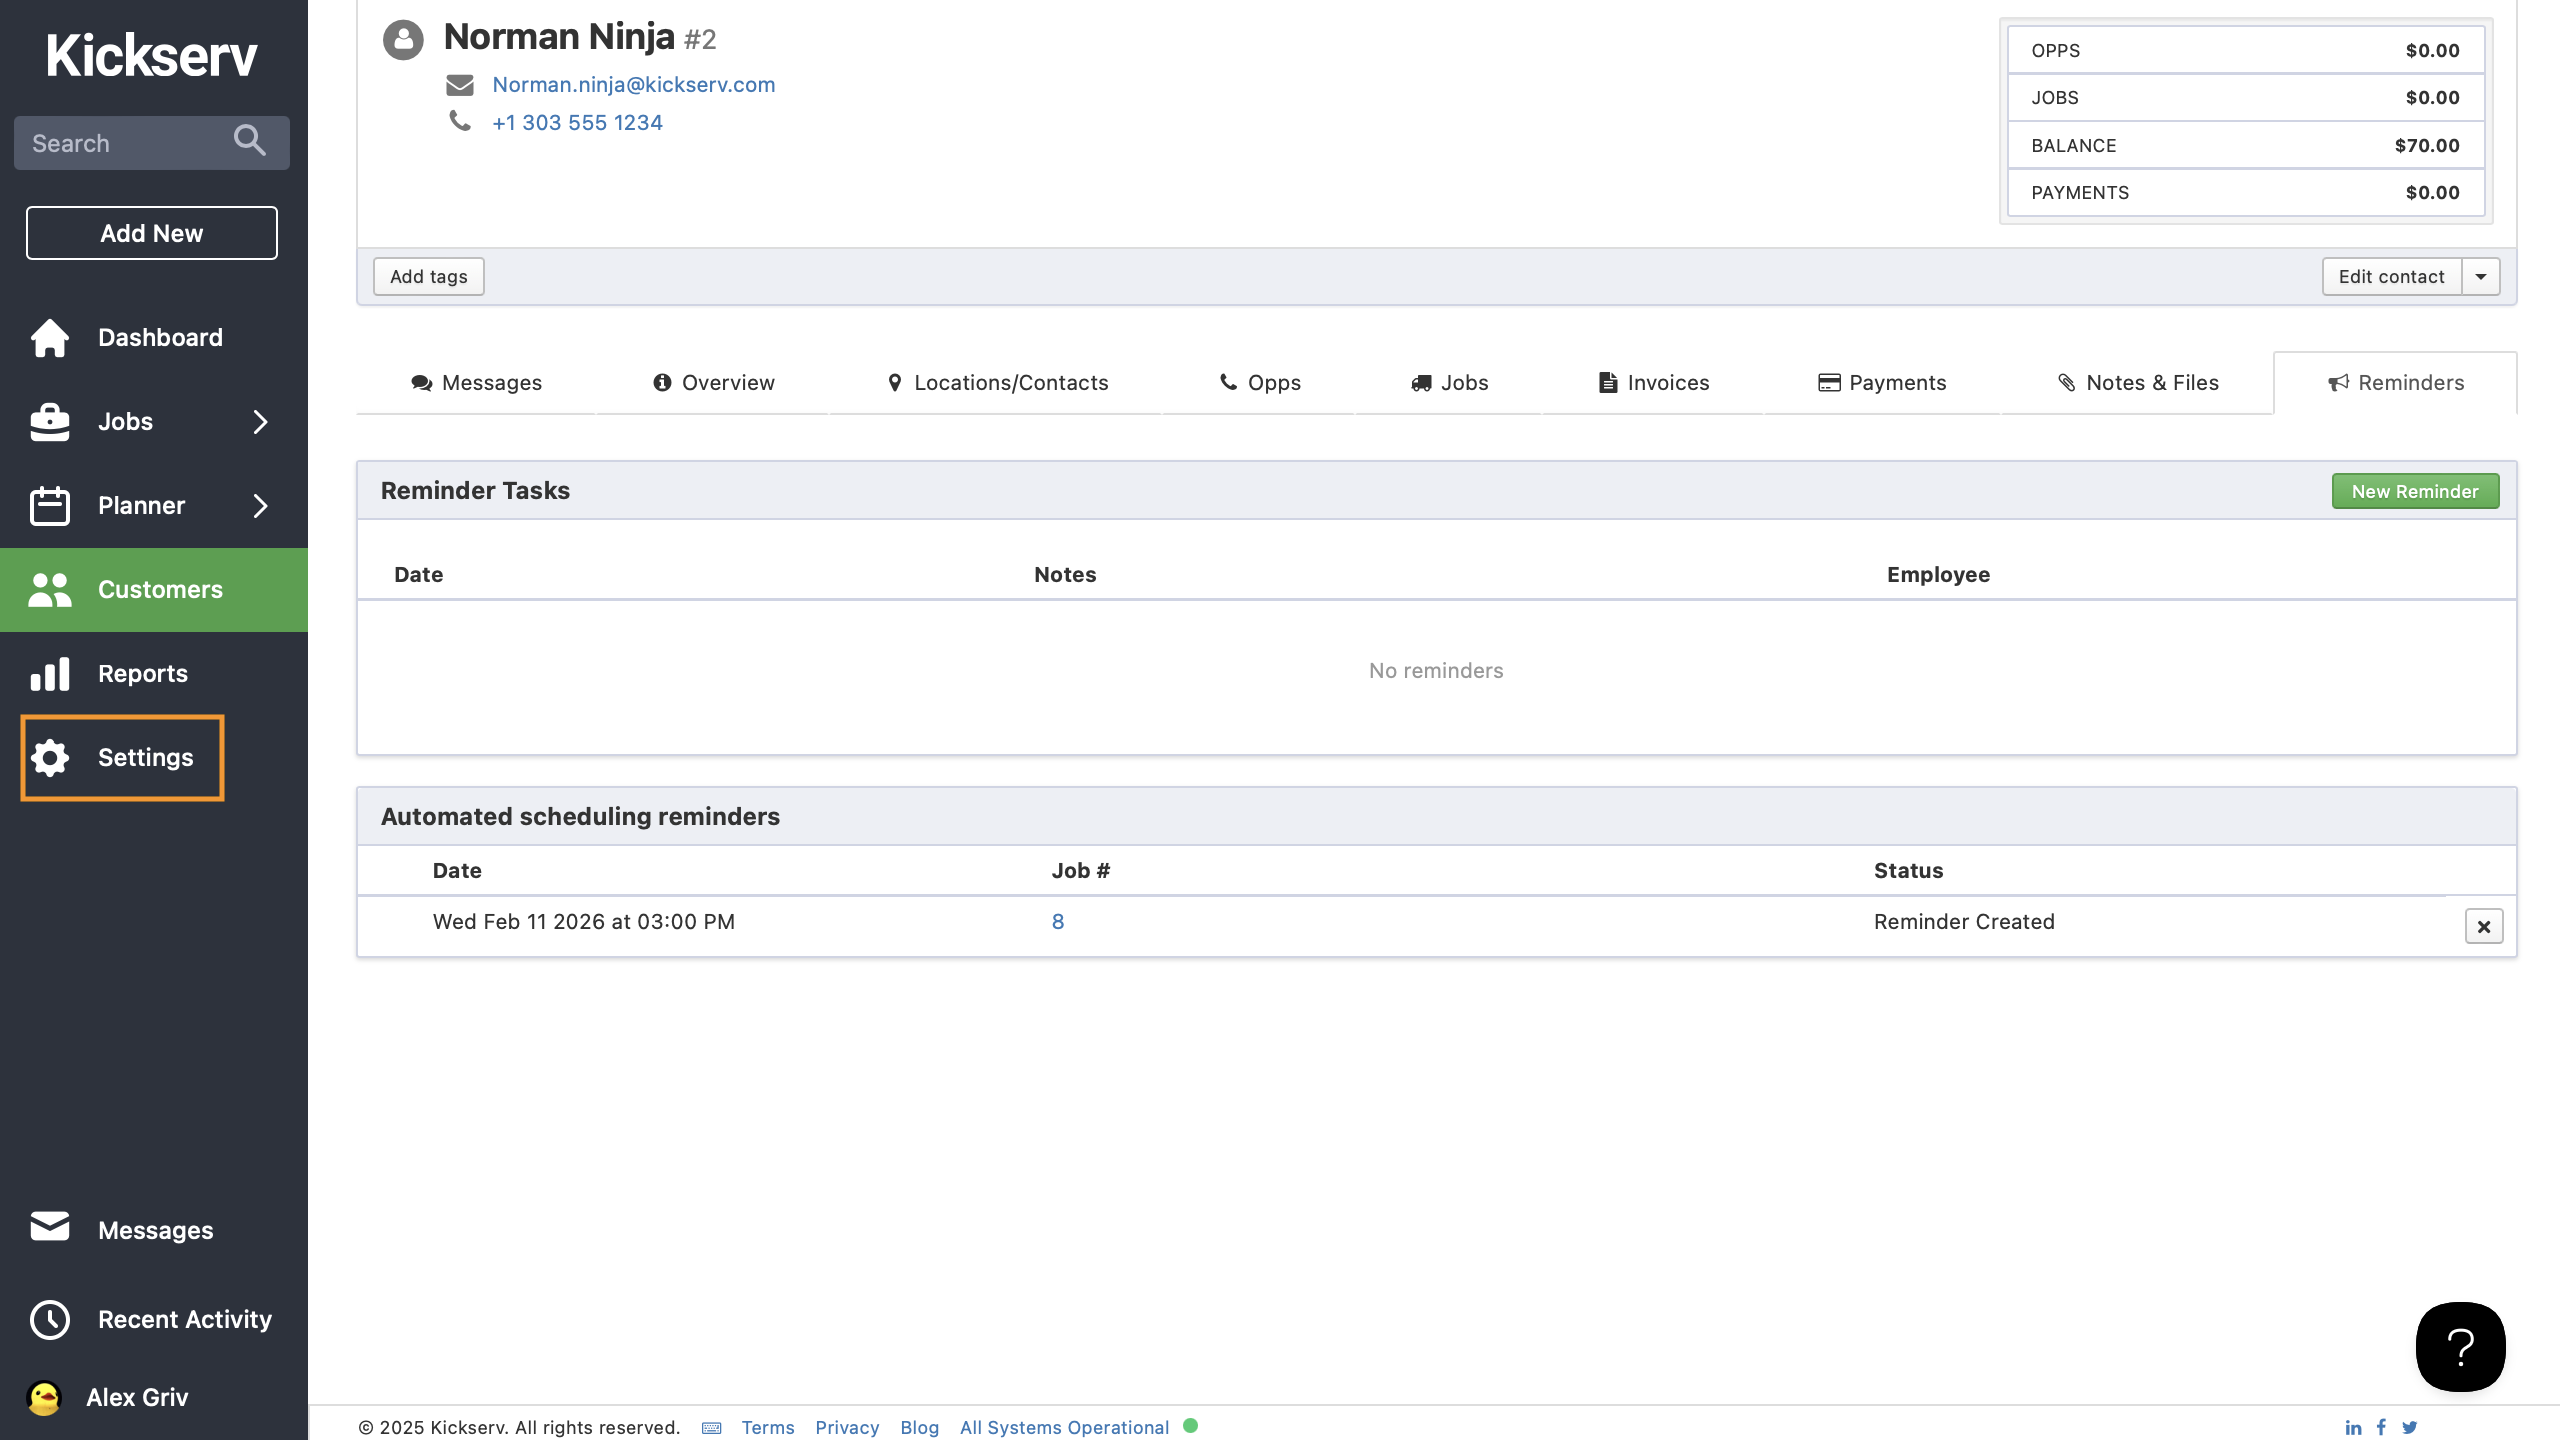
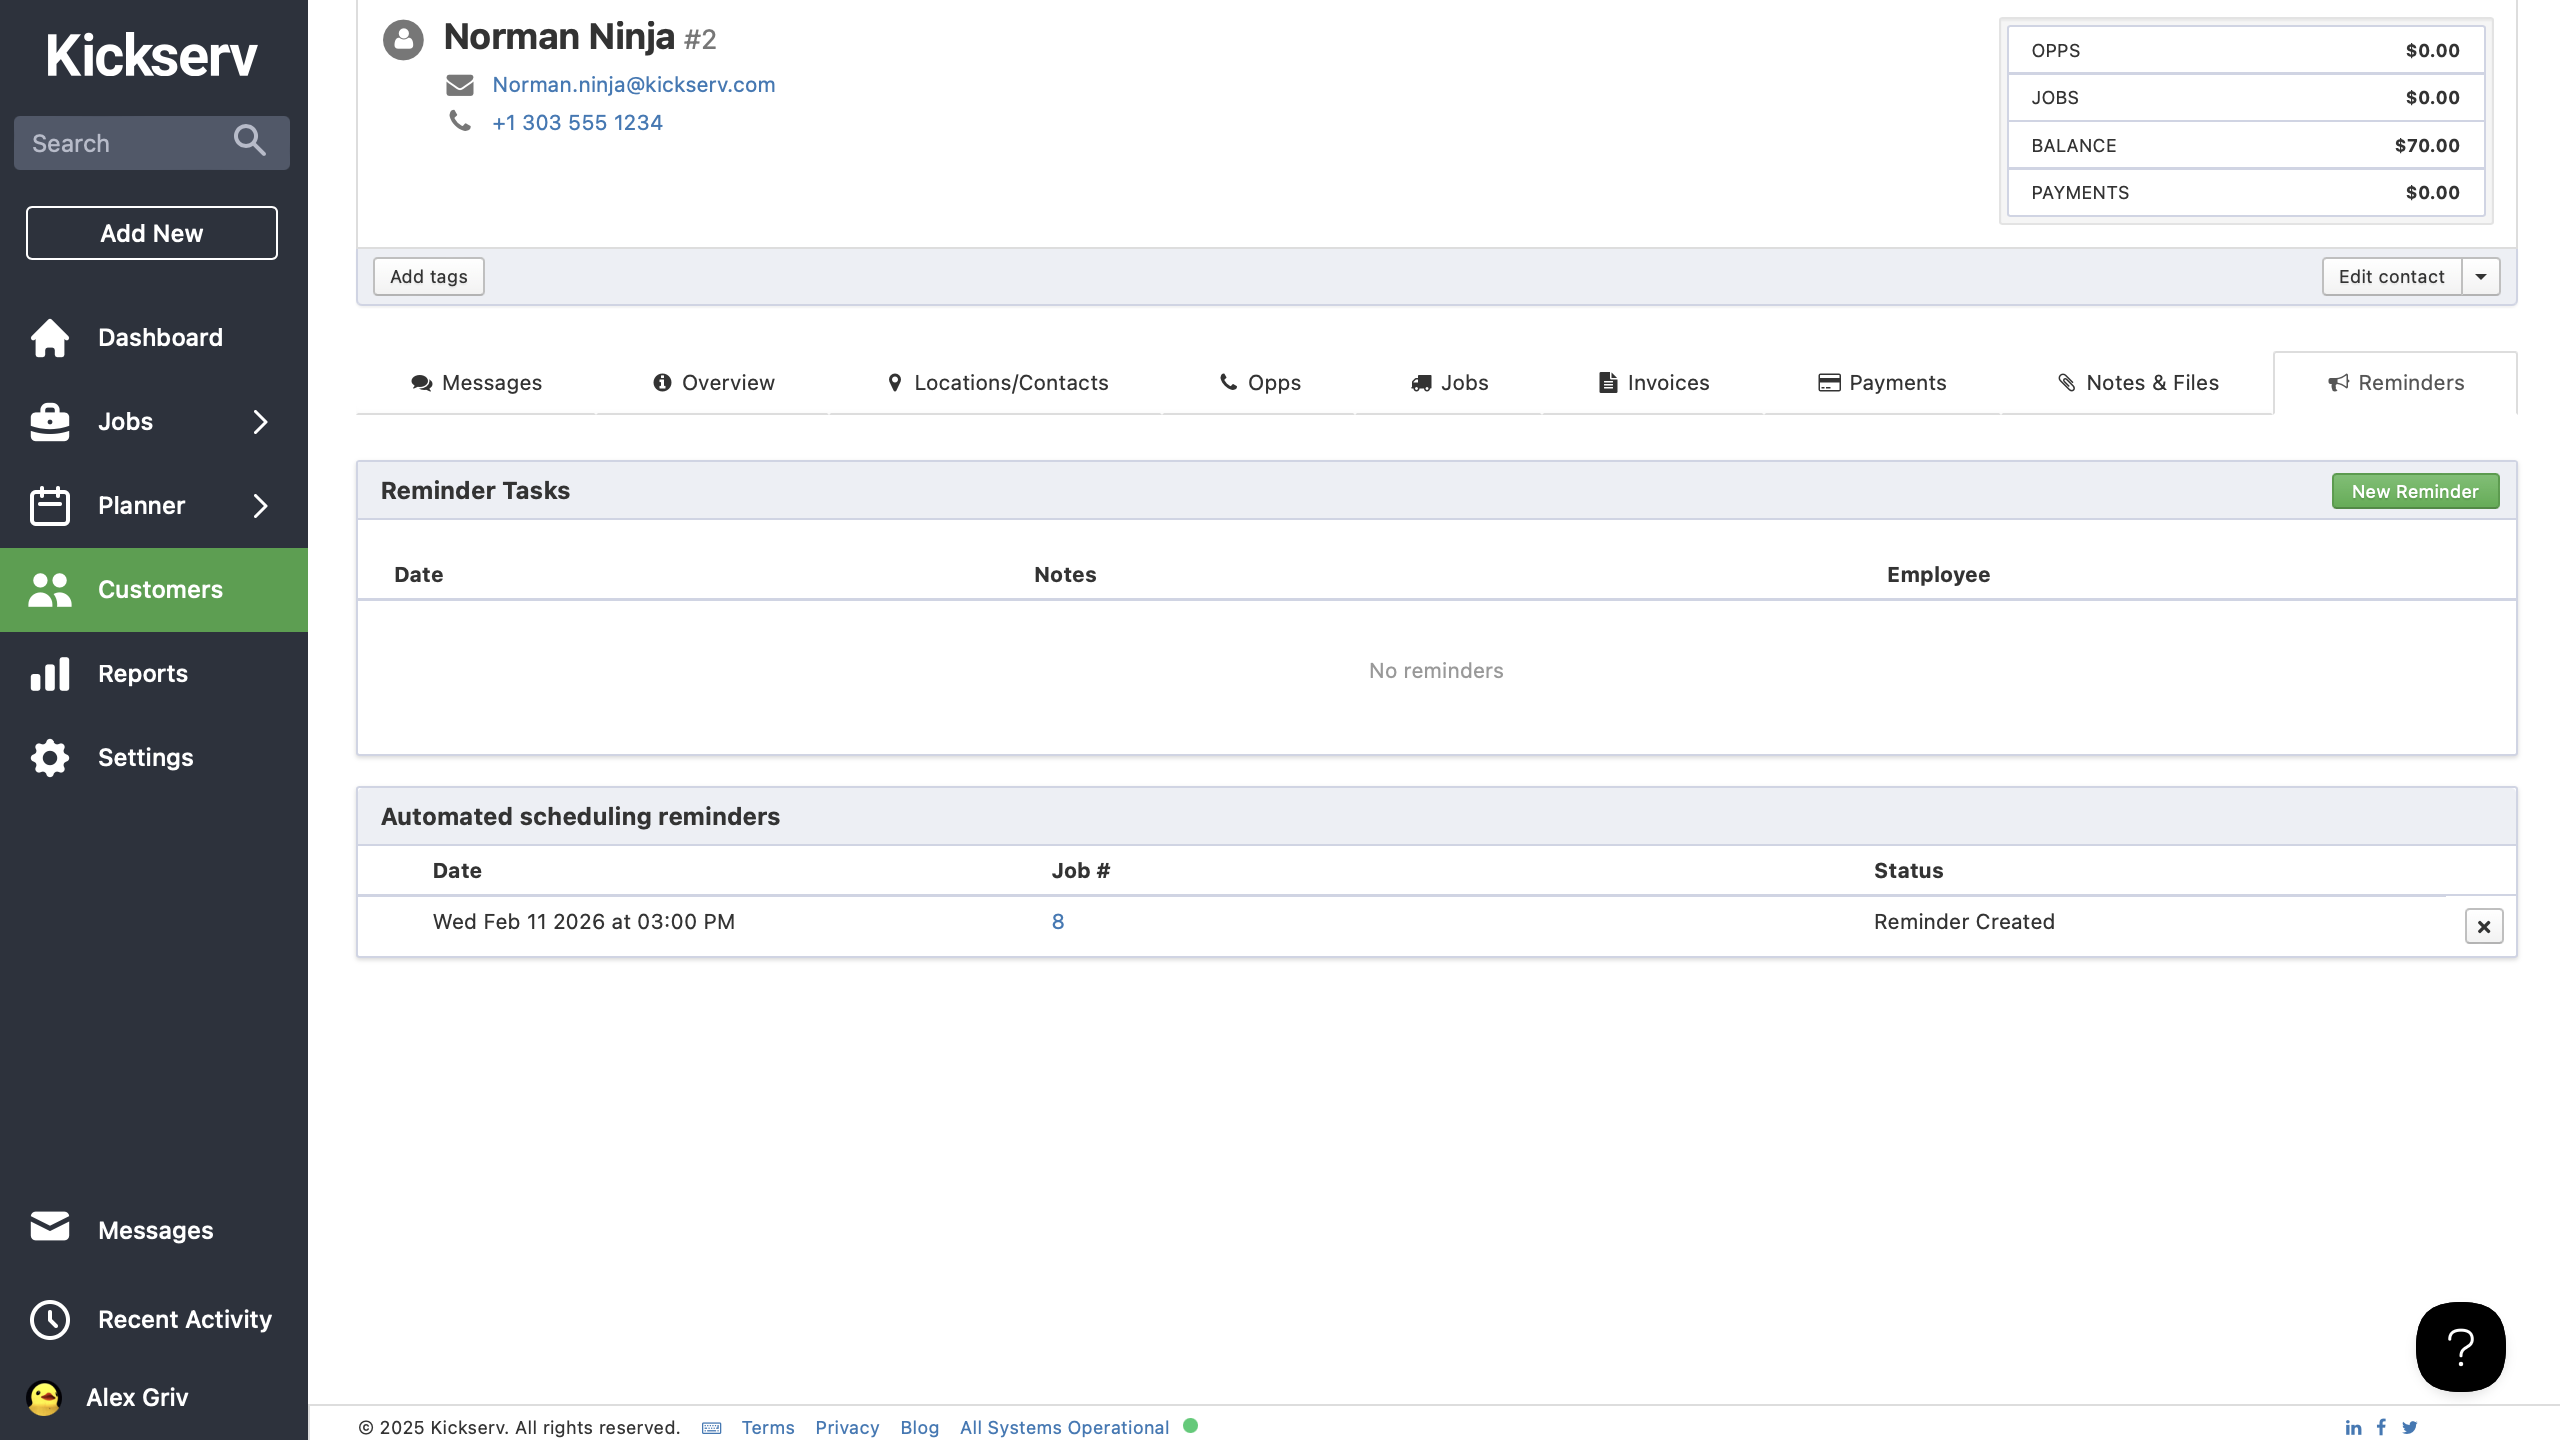
Disabling Automated Scheduling Reminders
-
Navigate to the "Customer" menu in your Kickserv dashboard, then click on the "Reminders" tab.
-
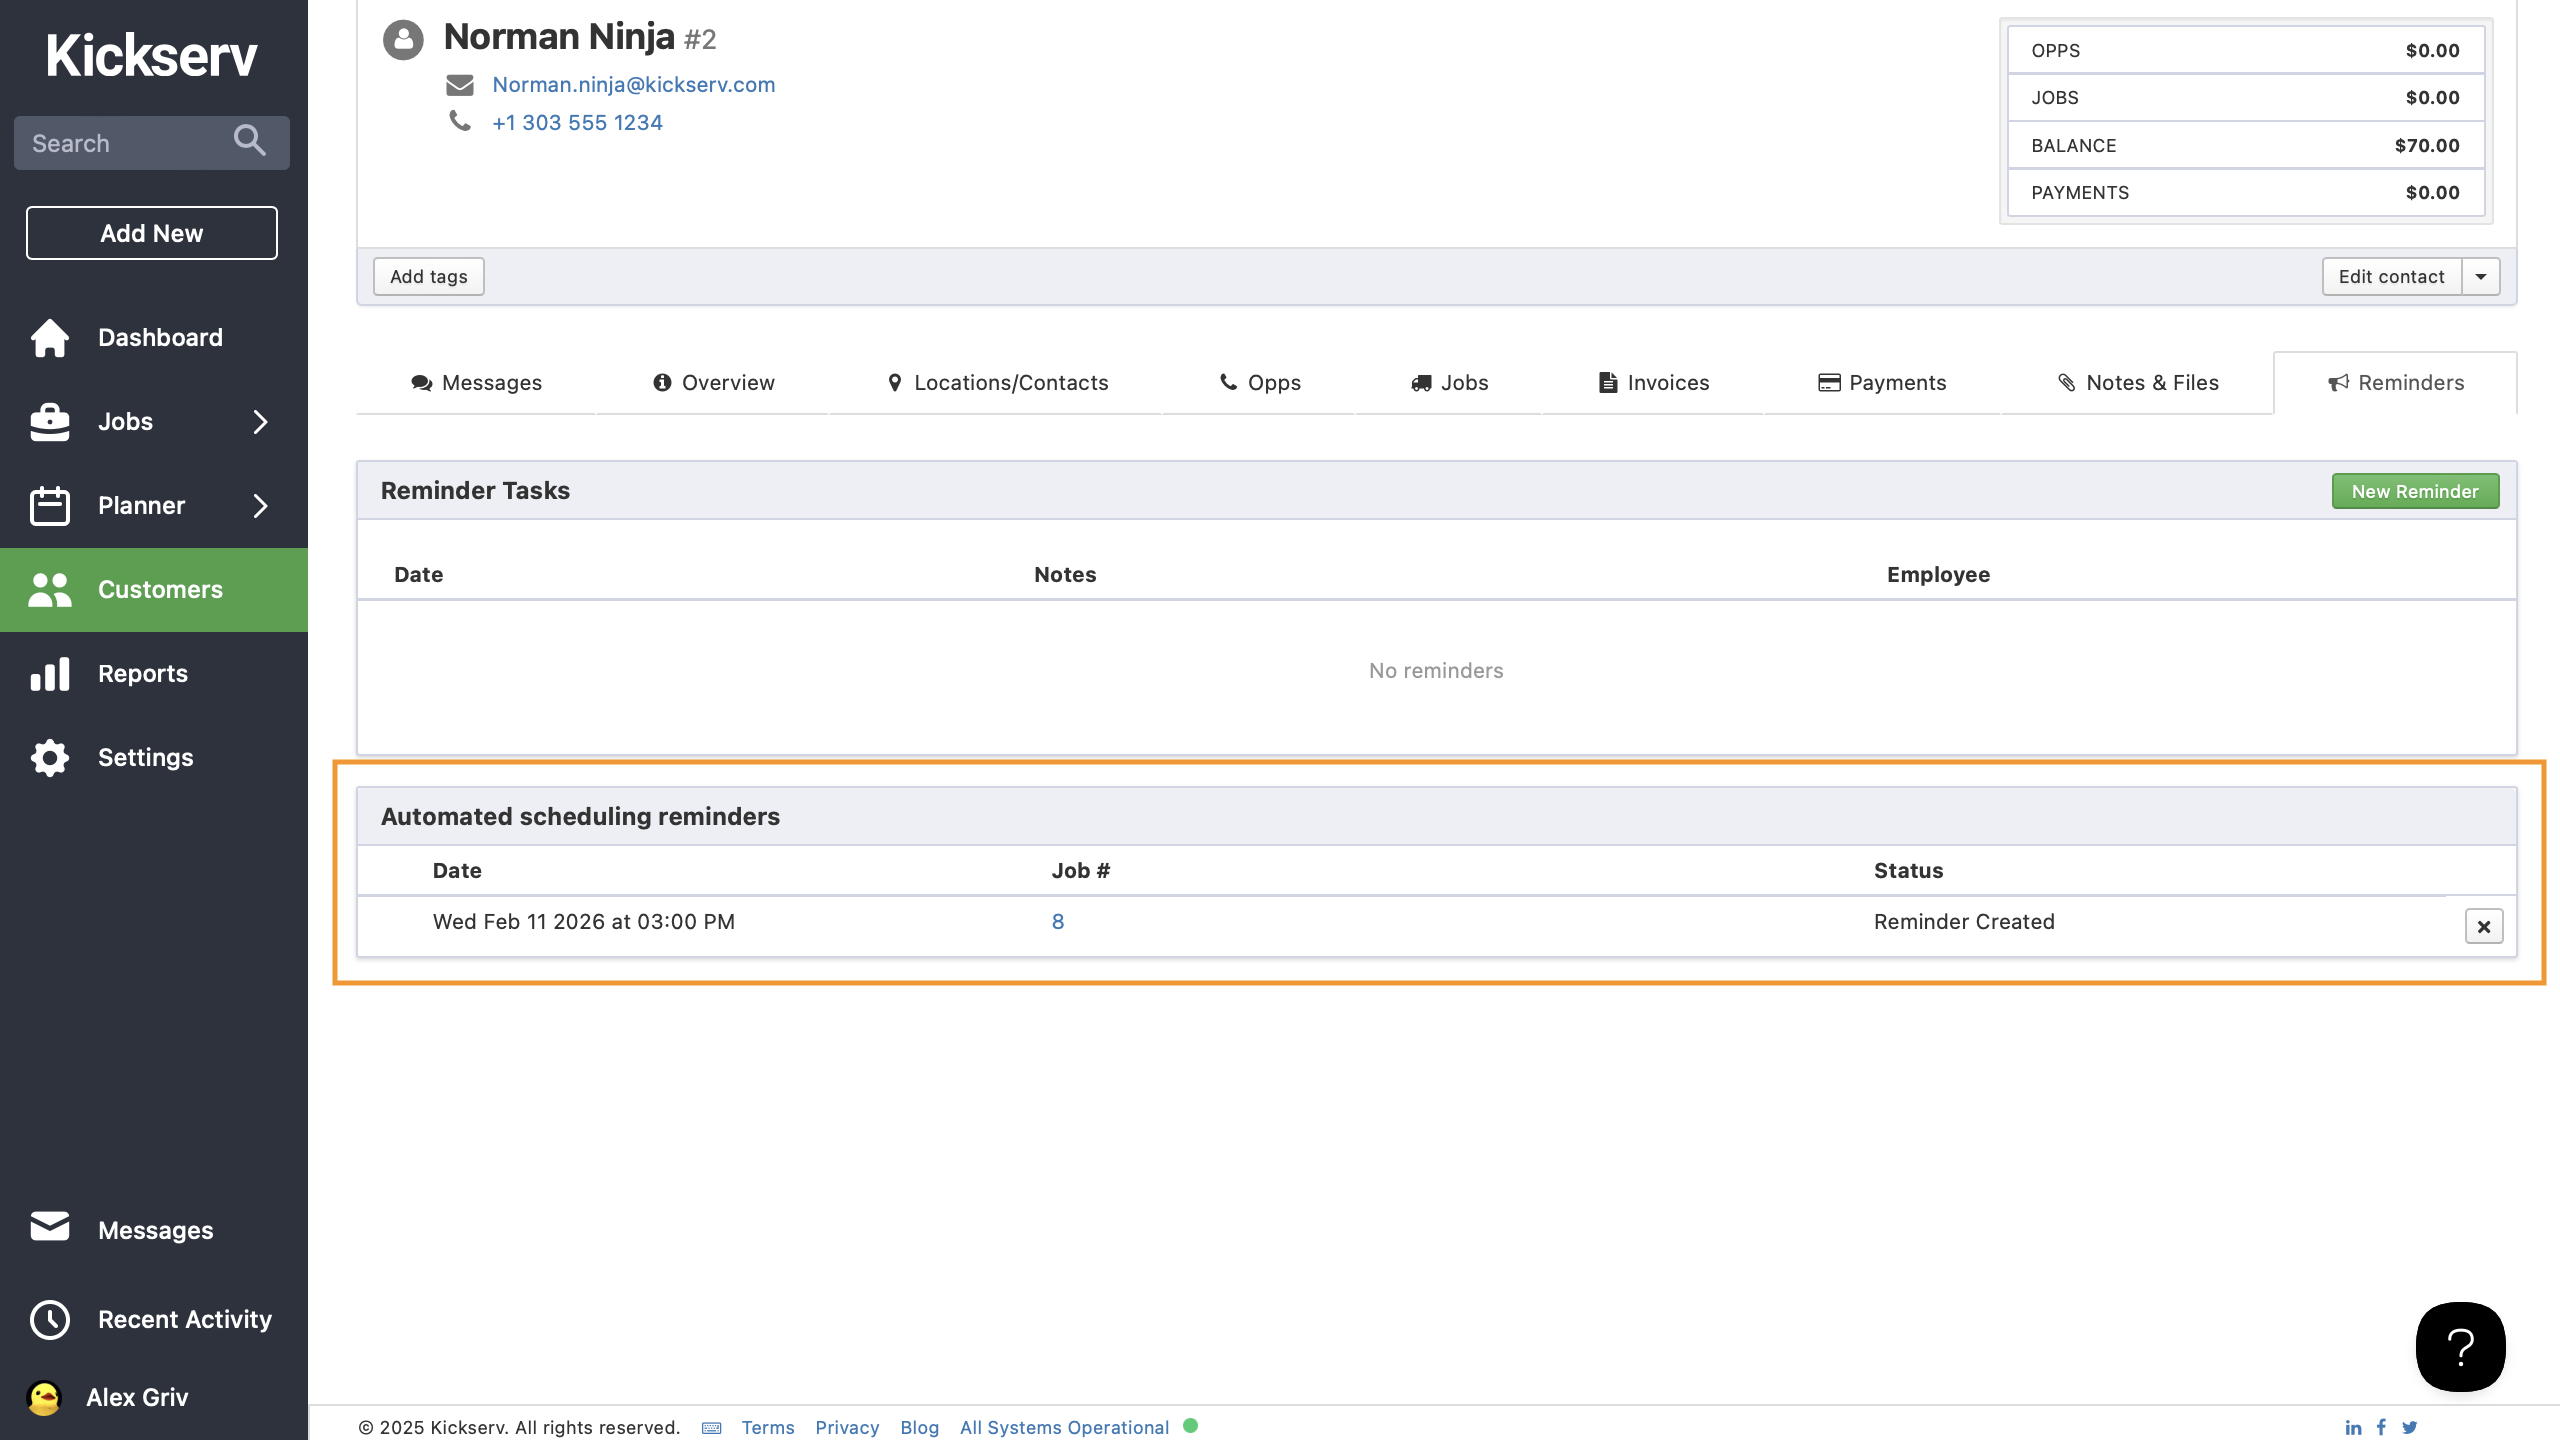
Scroll to the "Appointment Scheduling Reminders" section and locate the specific reminder you wish to disable
-
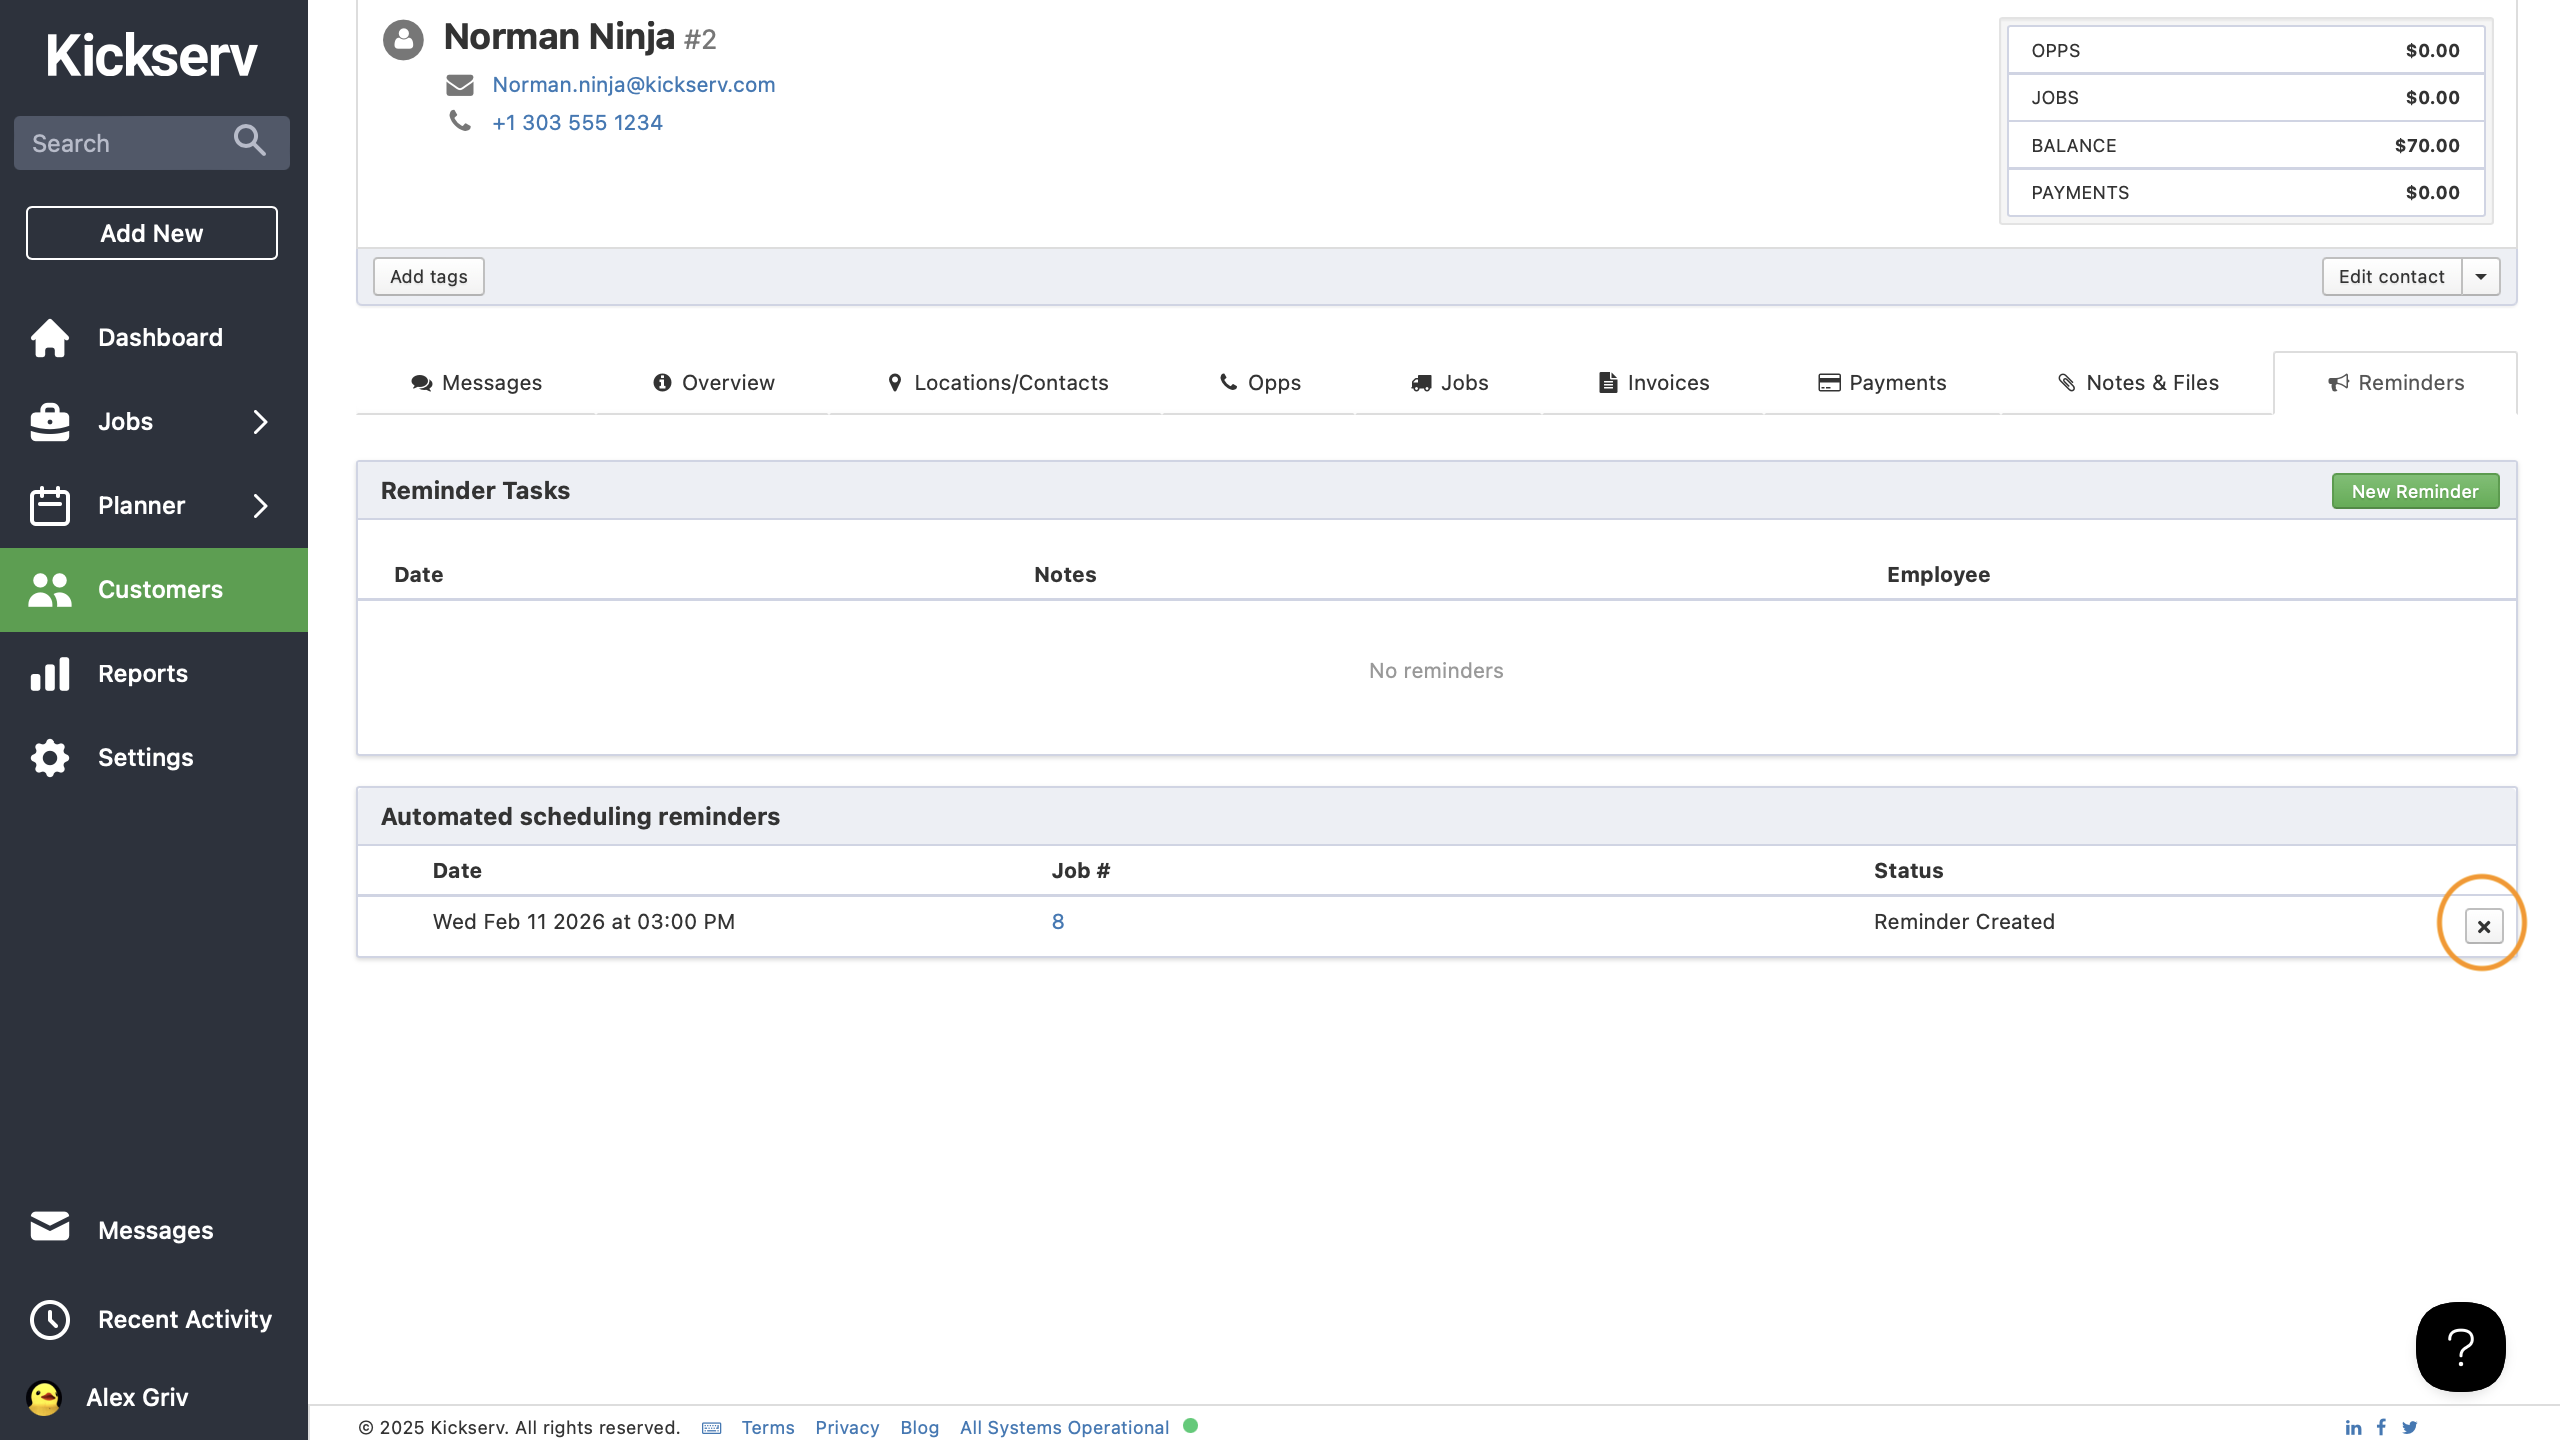
Click on the "X" button at the end of the reminder you want to disable
-
A confirmation pop-up will appear; click "Delete" to confirm
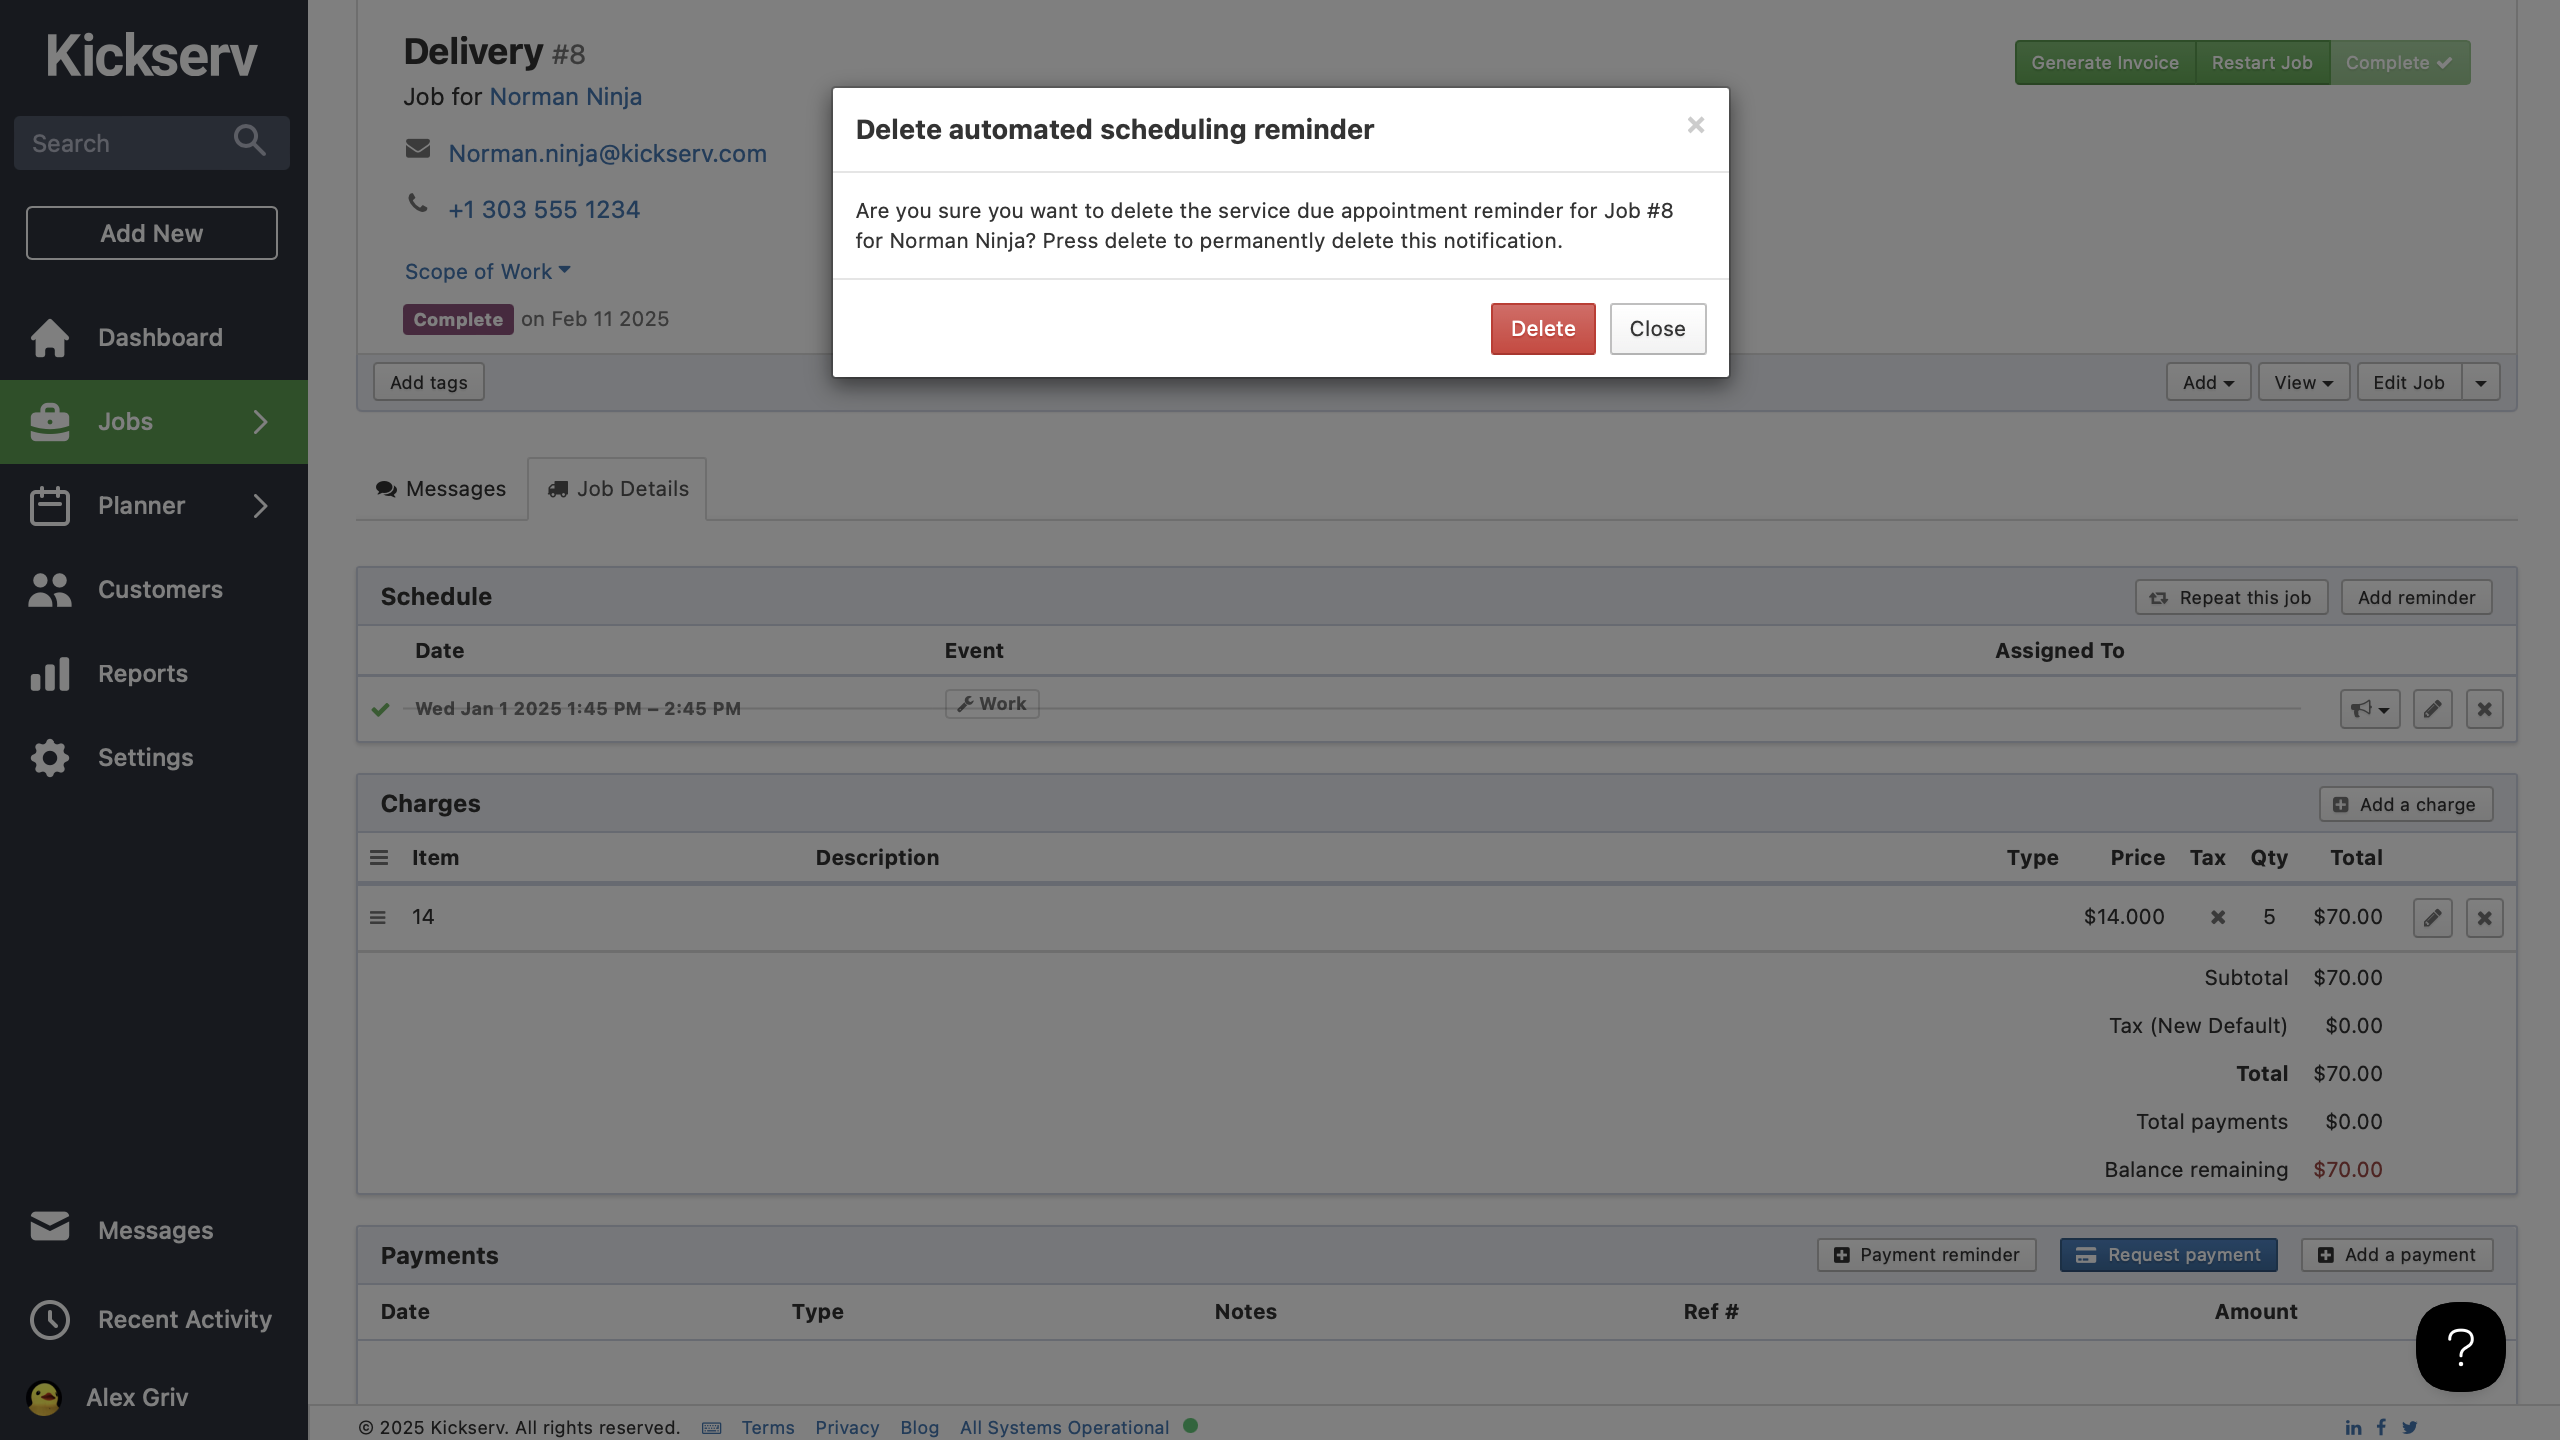


Note: Disabling a reminder will stop all future automated messages for this particular reminder. You can re-enable it at any time by following the same steps to set the reminder back up.
By leveraging Automated Scheduling Reminders, you're not just saving time - you're multiplying your earning potential.